Elderberry Syrup
-A whole load of elderberries
-Some water
-Granulated Sugar
-Cloves
-Rind and juice of 1 lemon
First I dunked the elderberries in a deep pot of water. Any bugs and stuff rinsed off, then I picked over the berries discarding any old ones, but especially getting rid of any green or red tinged ones. If they're unripe then they contain cyanide and are totally poisonous. They need to be deep, dark purple - almost black.
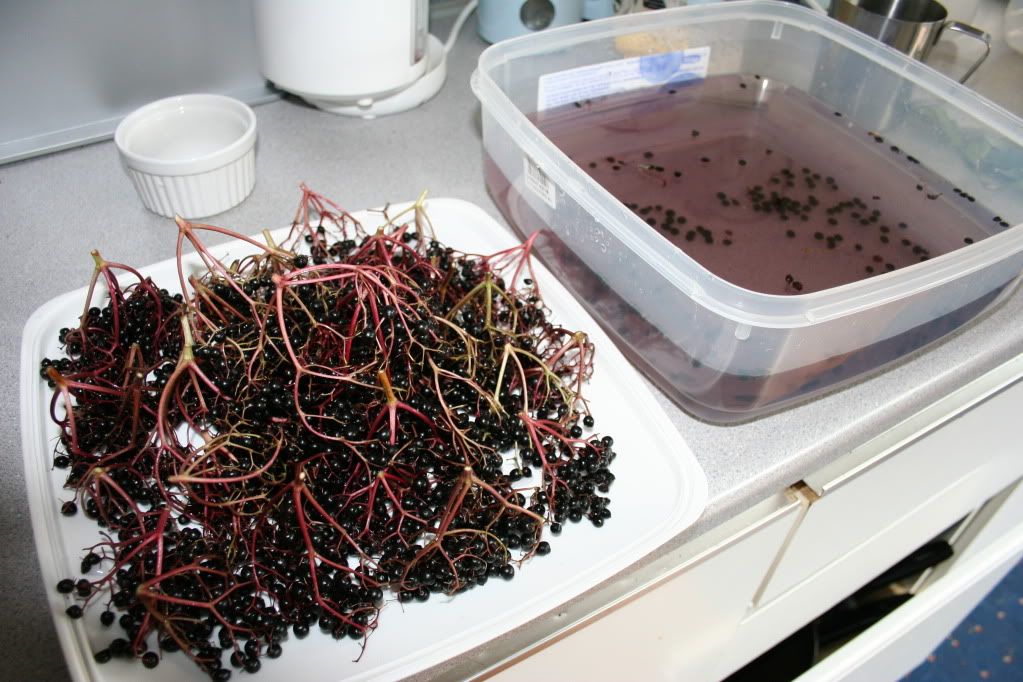
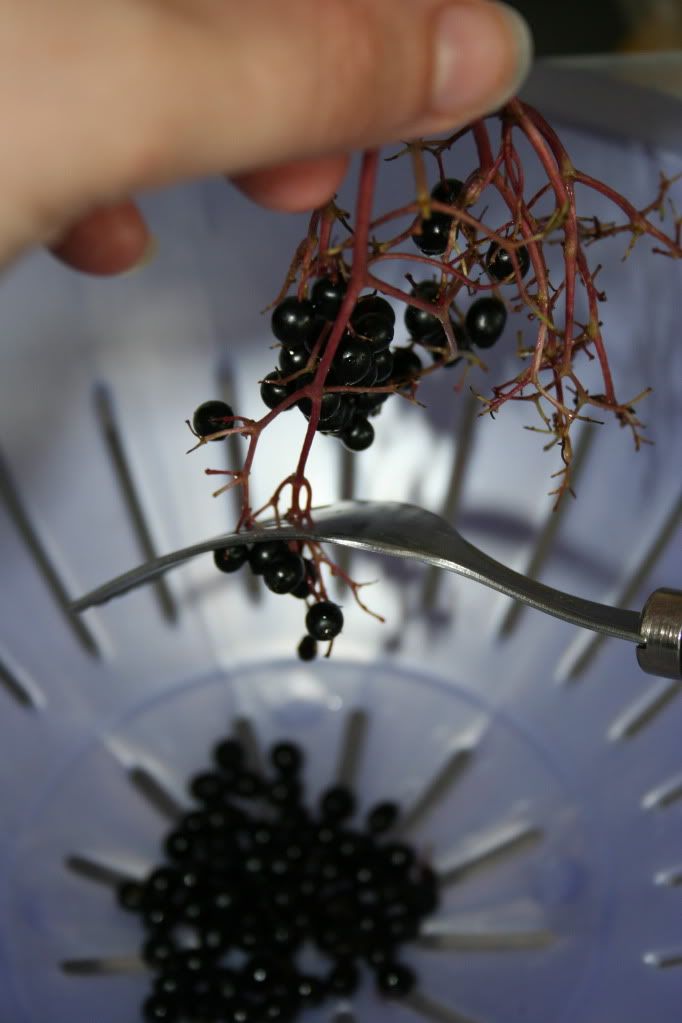
Once this was done I used the tines of a dinner fork like a comb to remove the berries from the stems - excellent tip I found on a website somewhere. Made the whole thing very speedy.
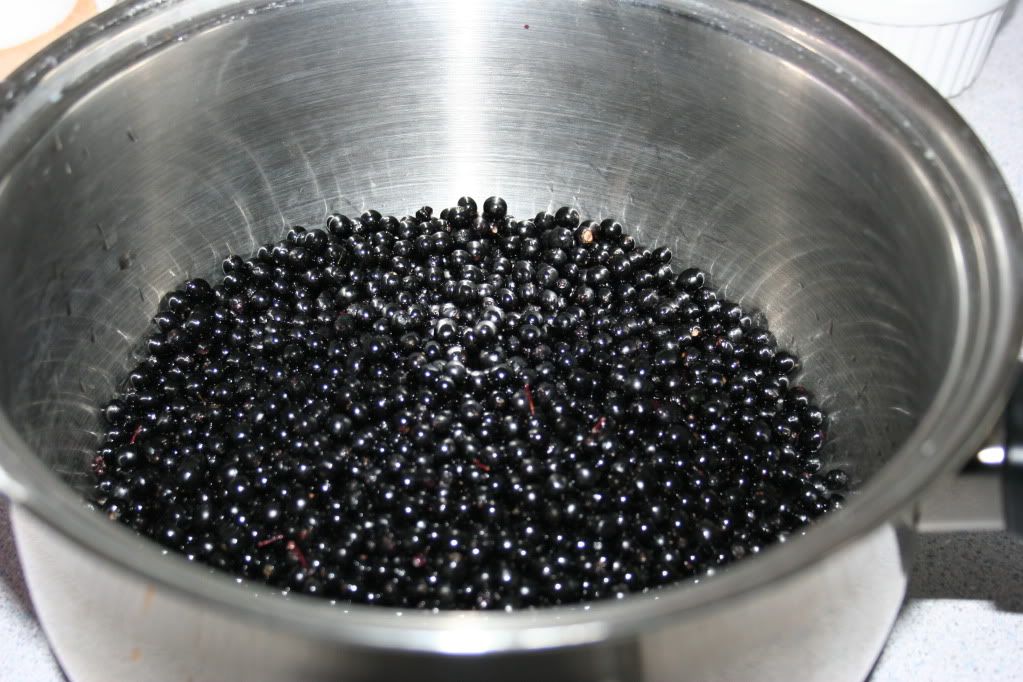 I dumped the berries in a saucepan with enough water to cover them and the juice and rind of the lemon. Start boiling.
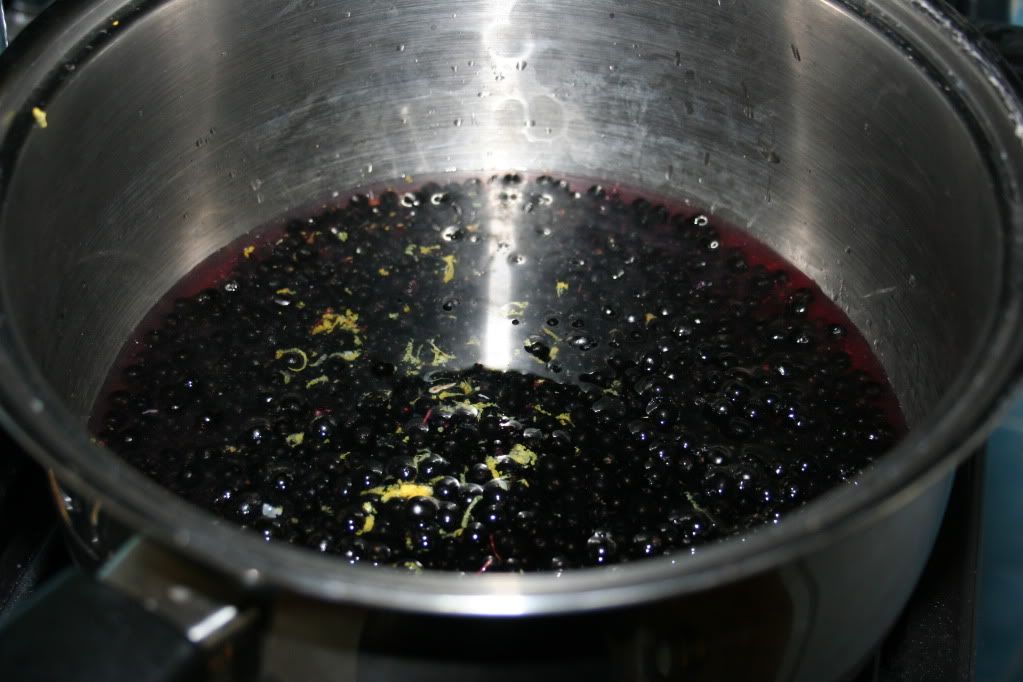
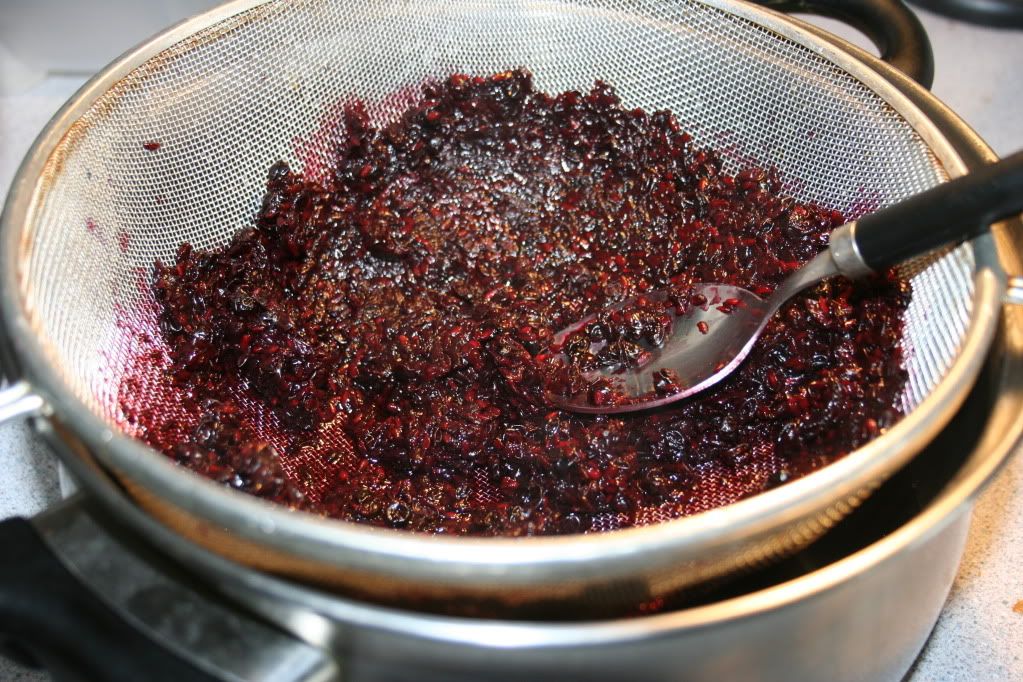
When the berries were nice and soft I mashed them up with a potato masher and put them through a sieve, using the back of a spoon to squish the juice out.
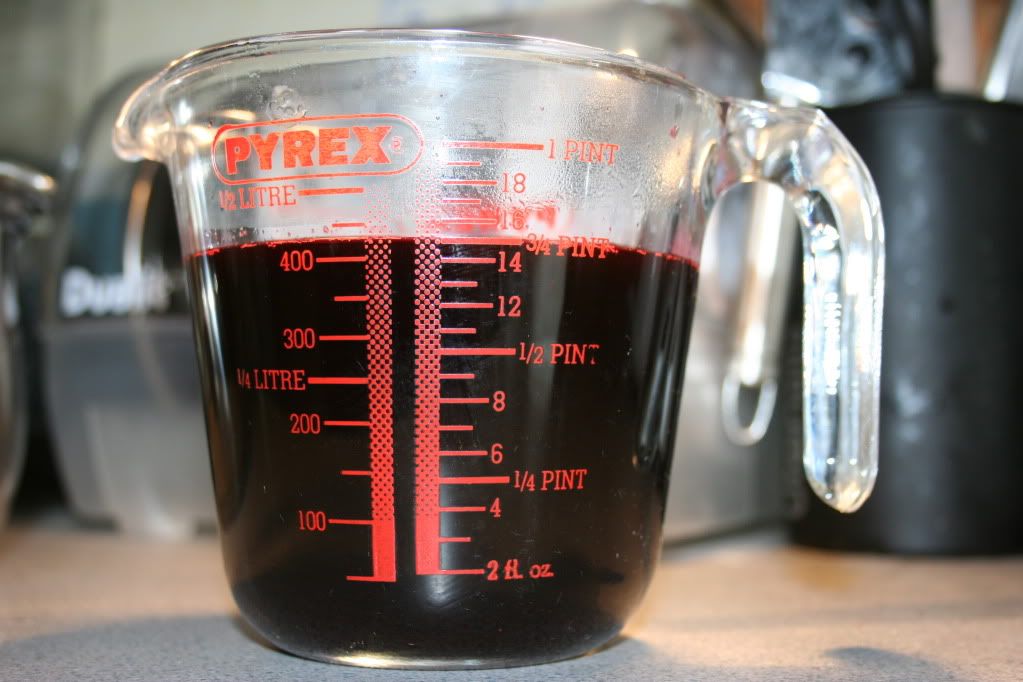
I poured the juice into a measuring jug to see how much sugar to add. It's a lb of sugar per pint of juice, so for 3/4 pt I needed to add 12oz sugar.
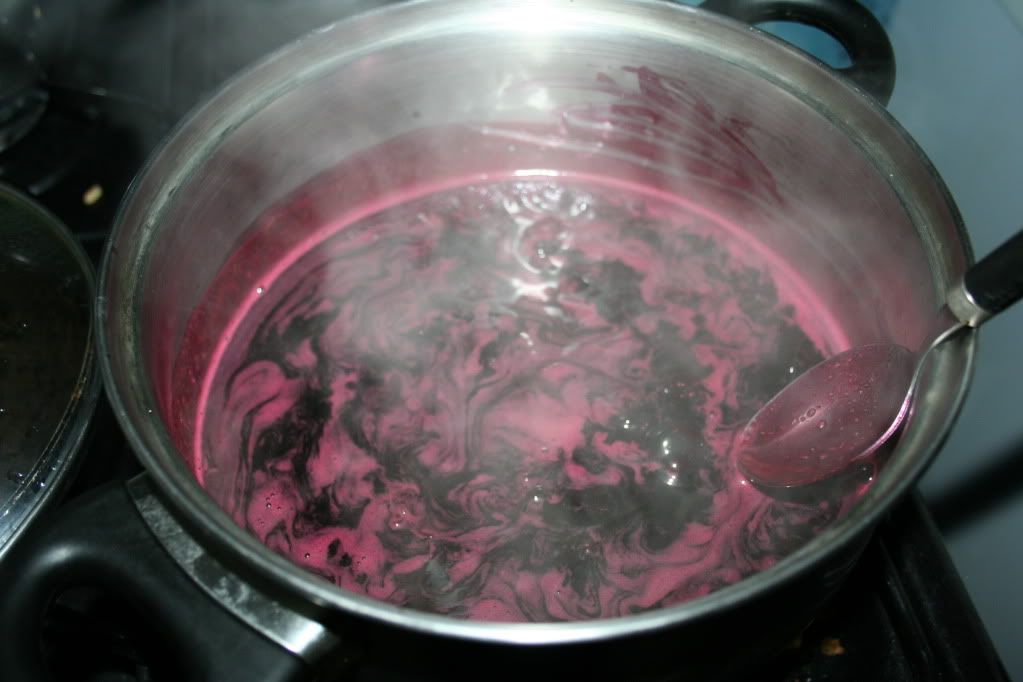
I put the juice and sugar into a saucepan, added the cloves (10 per pint, so I put in 7) and boiled up until the sugar had dissolved, then boiled a bit longer till the liquid had thickened a bit and coated the back of the spoon when I lifted it out. I poured the syrup into small sterilised glass bottles using a funnel (sorry, no pictures - bit too tricky as I needed an extra hand just to do the pouring, never mind take a pic!)
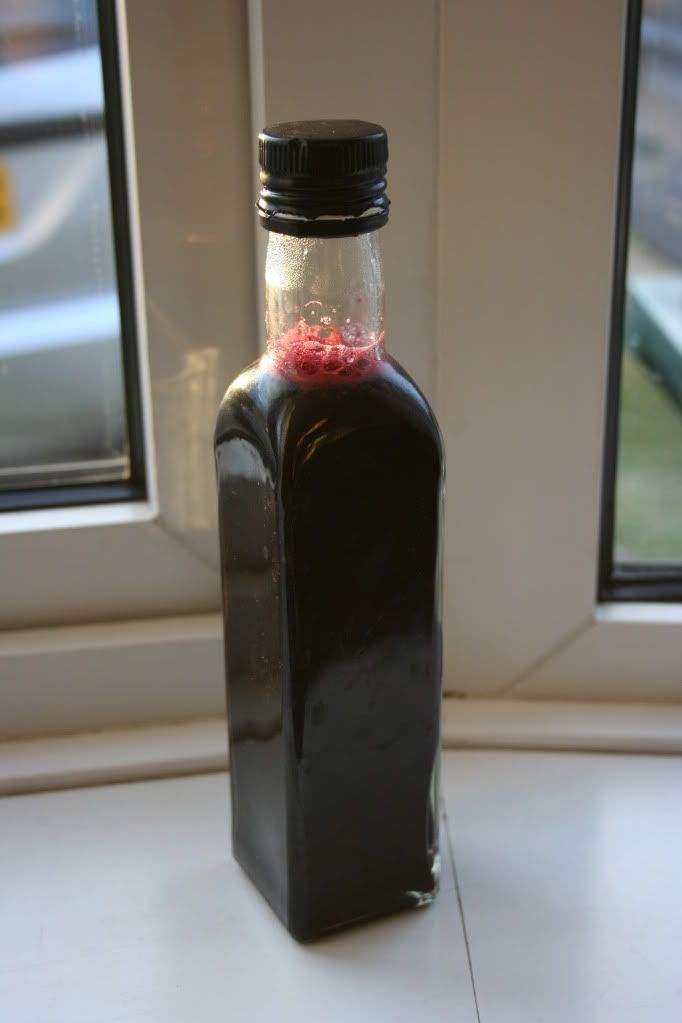
 I screwed on the lids and left the bottles to cool. Here's my first ever bottle of syrup! Apparently a Tbsp in a mug of hot water is the way to drink it. I apologise to hubby who got given a drink of rather more powerful proportions than this!
 Crab Apple Jelly
-4lbs crab apples
-2 pts water
-juice of 1 lemon
-Granulated sugar
-4 cloves
Cut away any bruised bits of the crab apples, chop into quarters and put in a pan with the water, cloves and lemon juice. Cover and boil up at a low simmer until the crab apples are soft and pulpy. Strain into a clean bowl overnight (see two posts previous to witness my clever straining contraption). Do not squeeze or it'll get cloudy and gross looking.
If you need to you can chill the juice at this point for a day or two, or you can freeze it until you're ready for it. Be warned - the juice is very very bitter and sour at this point, so don't taste it - just enjoy the delicious appley aroma! Don't worry if the juice looks cloudy, it clears up when you heat it.
Now to the jellifying! Add in the sugar -- same again, 1lb sugar for every pint of juice. For the 1 1/2 pts I got, I added 1 1/2lb sugar. Let the sugar dissolve on a low heat, then bring up to a good rolling boil. The important thing is to skim the scum off the top thoroughly as you go. Unlike with soup this is quite easy, because the scum holds together. According to Katie Stewart one must be thorough to ensure a clear, sparkling jelly!
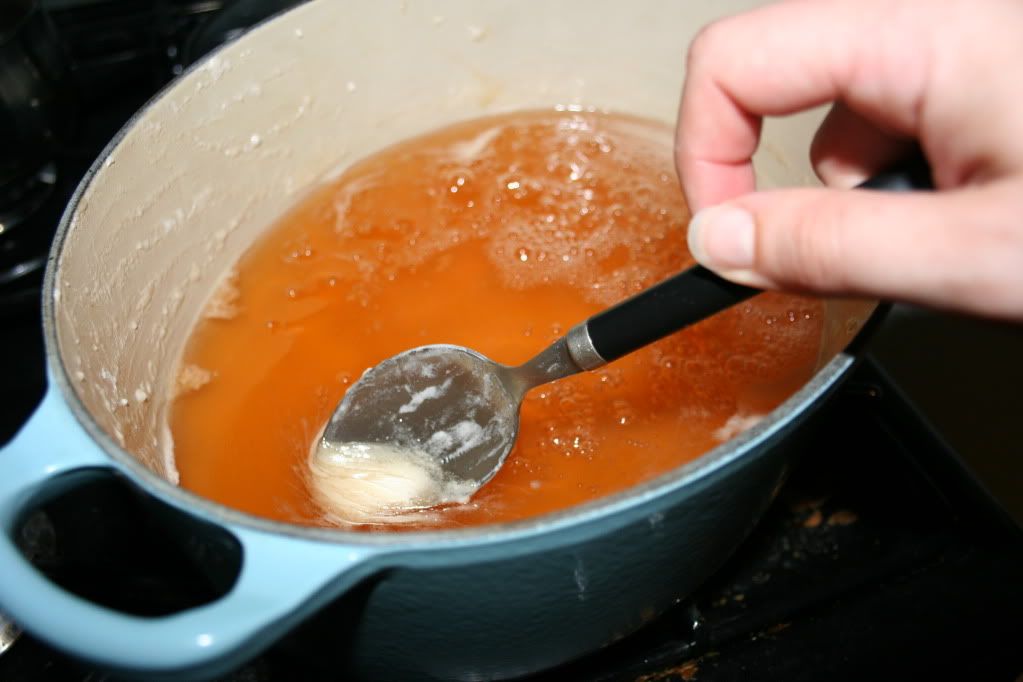
Here's how much scum I got off before it really got boiling.
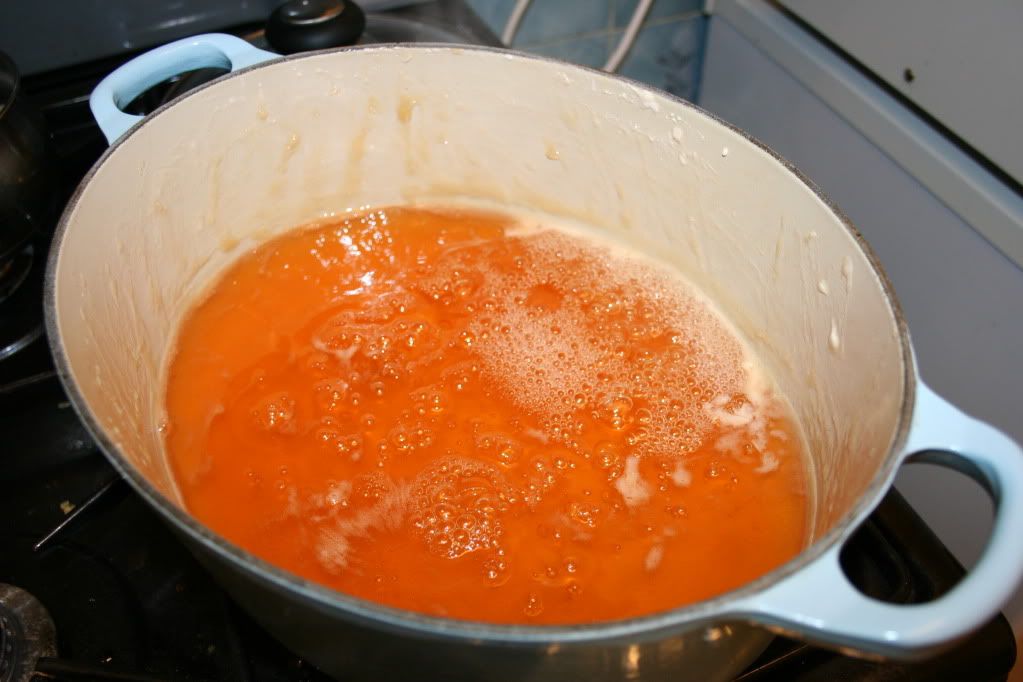
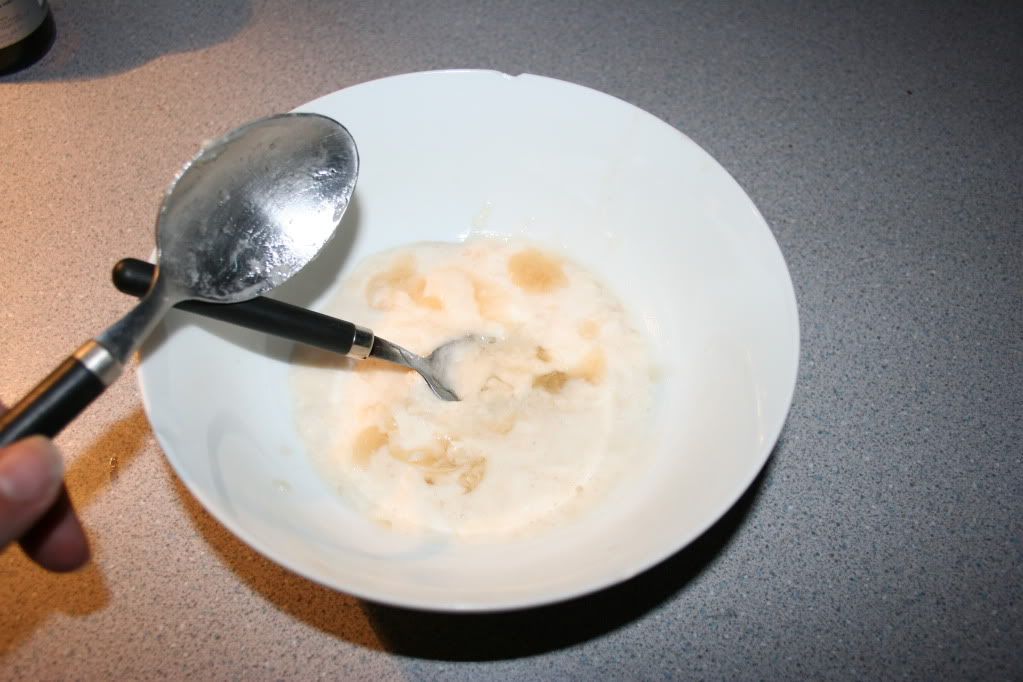 Hold it at a rolling boil (use a decent heavy-bottomed pan to stop it burning. I used my enamel Le Creuset casserole in the absence of a 'proper' jam pan) for 10 to 15 minutes, then start testing for a set on a cold plate. When a skin forms and wrinkles you're ready to put the jelly in pots.
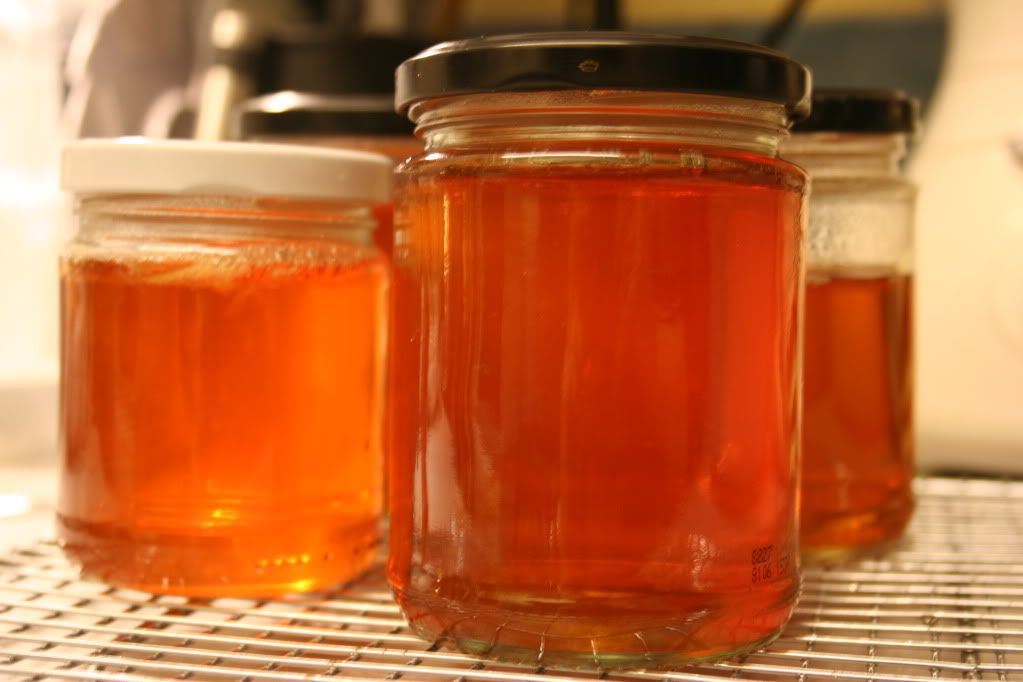
 Make sure the pots are clean and warmed from the oven, boil the lids and dry them, then ladle the jelly liquid into a clean jug and pour into the pots. Unfortunately, because I didn't get as much juice as I had thought or hoped I would, I only got 3 and 3/4 small jars out of this batch, but boy am I proud of them! Mulled cranberry jelly next time I think, or apple and rosehip? Depends how many rosehips I gather. Anyway - admire the sparkling amber colour of my jellies...!
 It tastes damn good too. Hubby and I had scum on toast as a snack! Tart and sweet and very appley. Yum.
I also went for a lovely walk earlier and, taking the advice of the very good friend who originally directed me to the Down To Earth blog which set me back on this path, I had a look in a charity shop for some knitting needles. I asked the nice old lady behind the counter and she got down this enormous bundle of needles and stitch markers from a shelf in the back.
"That'lll be a pound, chick."
"Deal!"
"It's just not worth our time sorting through them all, so we sell them as they come to us."
So yes - I got this collection for one little pound - probably some old lady who died :-( Still, at least her needles will be put to use... only one problem - they're all in 'old money' as it were - needle sizes instead of mm measurements. Oh well, I'm sure I'll figure it out!
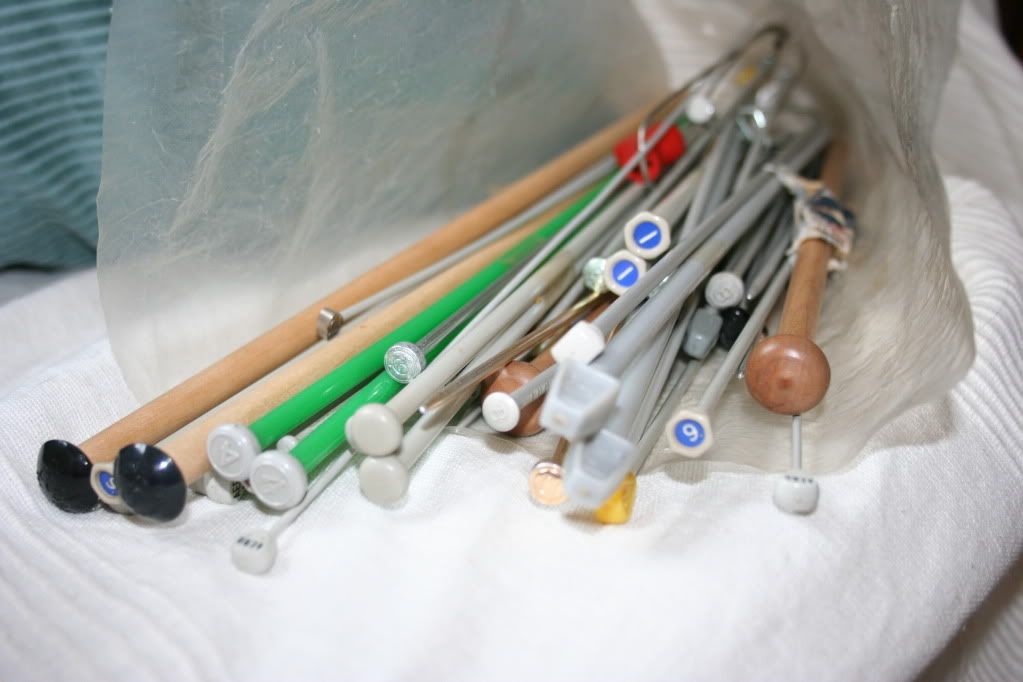
A successful day I'm sure you'll agree. Oh, and check this mega 5kg bag of sugar I bought!
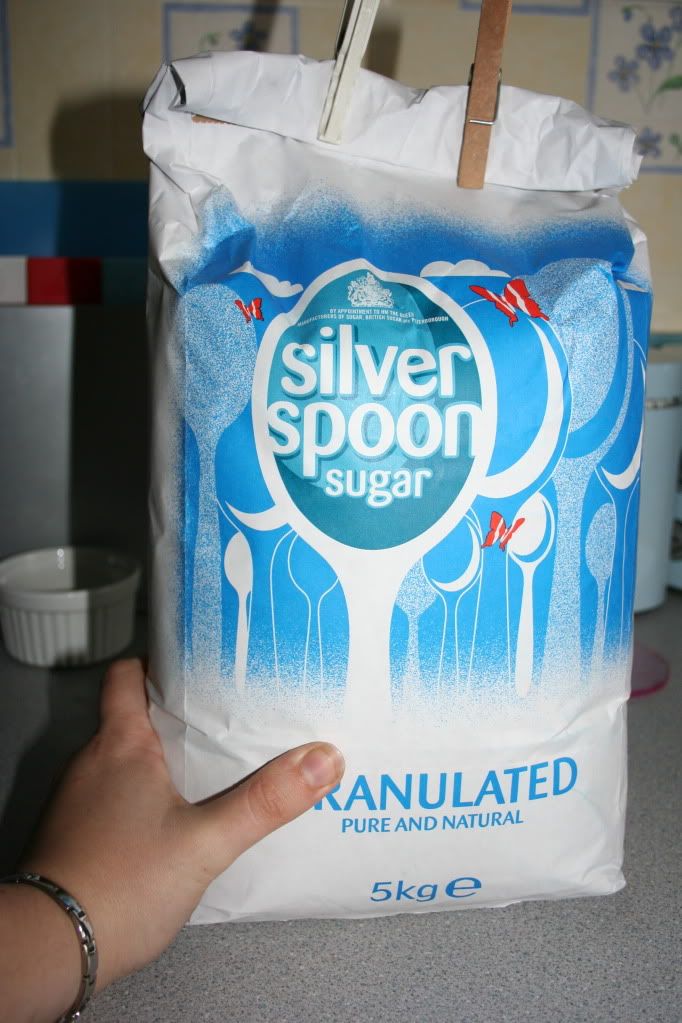 It cost me £4.30 ish I think... I suppose I ought to work out how much each jar of jelly cost me to make... The jars and crab apples were free, ditto the water ;-) well, free-ish. Cloves were negligible and the lemon cost 65p for 4, so about 16p? So 4p per jar for the lemon and if anyone wants to do the maths for the sugar and let me know...
OK, OK. 24oz = .68kg.
If 5000g of sugar cost 430pence then 100g = 8.6p then
680g = 59p
and for almost 4 pots that's 59 divided by 4 = 15p
So 19p per pot? Hurrah! 1 nil for cheap homemade vs. commercial!


I've never worked out the cost before - just worked on the principle that home made anything tastes soooooo much better than "boughten"! Well done anyway.
ReplyDeleteYou got a good deal with your knitting needles too. You can buy a converter - which has holes that you insert your needle through and it will convert from "old" to "new" sizes (or t'other way).
Yeah, someone else told me about the knitting needle gauge thingies - I'll have to look into that.
ReplyDeleteI only worked out the cost because of the frugal living experiment. I wanted to see what the price difference between shop-bought and homemade was and the answer was a pleasant surprise. I suppose that saving would drop if the jars or the fruit had to be bought in, though. Luckily I'm starting to get donations coming in now! (jar-wise, not so much with the fruit...)